https://westgold.com/
Article content
"Ghee is often preferred in Asian and Indian cuisines and has been considered a sacred food by many cultures for hundreds of years."
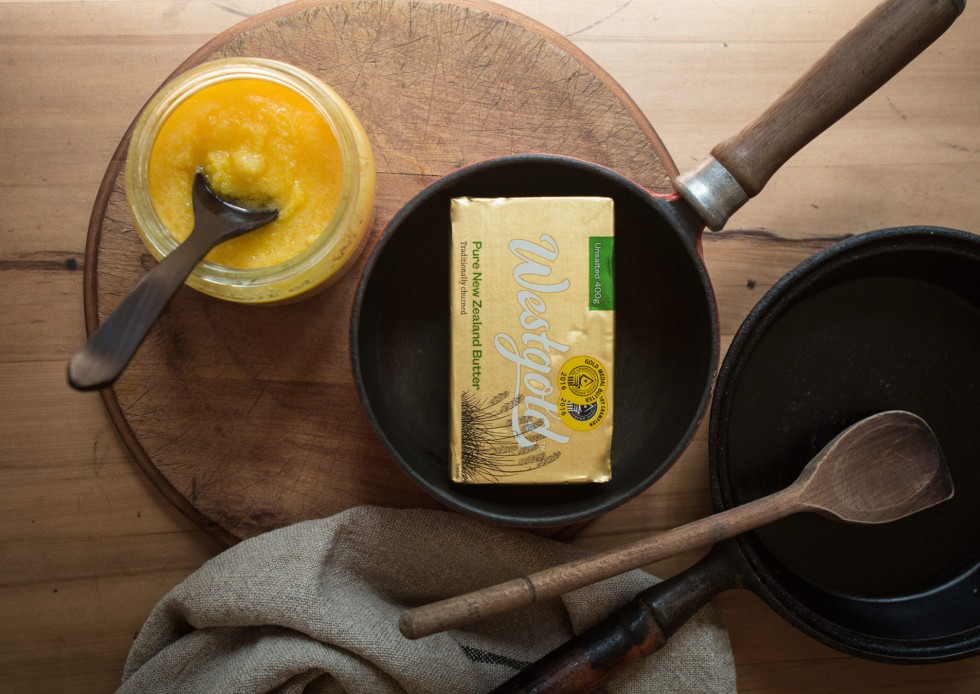
Image: Nicola Galloway Homegrown Kitchen
Ghee is a type of clarified butter with the milk proteins removed. Ghee typically has a rich, warm golden colour compared to clarified butter and can have a deeper, more intense flavour because you are toasting the milk solids in the cooking process.
Ghee is often preferred in Asian and Indian cuisines and has been considered a sacred food by many cultures for hundreds of years. The brown colour is what gives the ghee a slightly nutty, more intense flavour than butter.
Ghee is also great for cooking as it has a higher smoke point than butter and other fats as the milk solids are removed, preventing overheating. Used in place of butter or as cooking oil, a little goes a long way so it can be used sparingly.
Ghee is often well tolerated by people who have a lactose intolerance as the milk solids (although containing only small amounts of lactose) are removed. Essentially, butter is made up of three components: butterfat, milk solids and water. When you remove the milk solids and water this is what makes ghee.
For best results make sure you use quality butter; in naturally raised animals the fat profile of the milk is greater.
Follow these easy steps and you can make Ghee yourself at home.
Prep time: 10 minutes, Cook time 15 minutes.
Ingredients & Equipment:
• 1 400g block of Westgold Unsalted butter
• Medium saucepan
• Large spoon to stir
• Cheesecloth/muslin
• Fine meshed sieve
• Large bowl (ideally with pouring spout) for sieve to sit over
• 1-2 glass jars for storing
Instructions:
1. Cut the block into small, even pieces so the butter melts faster.
2. Place butter in a saucepan.
3. Turn heat to medium.
4. As the butter melts it will start to separate and you will see a white layer on top, this is the whey from the butter floating up to the surface.
5. Keep stirring gently from time to time. If the butter starts to simmer rapidly, turn the heat down a little.
6. Over the next 5 minutes don’t stir too much, just let the butter gently simmer and you will see bubbles getting larger and the foam will become thinner.
The milk solids will start curdling. If they stick to the sides of the pan, scrape these from time to time as we want the milk solids to sink to the bottom.
7. Continue to cook the butter until it turns clear and the milk solids sink to the bottom – you can stop at this point if you wish as you have made clarified butter.
8. Keep cooking the butter until the milk solids at the bottom start to brown and the butter starts to look golden. Keep an eye on the butter and scrape the sides of the pan and the bottom to make sure the milk solids don’t stick to the pan and burn.
9. You will notice the bubbles on top getting larger. The butter will then start foaming (again, for a second time).
At this point the ghee is ready to be strained.
10. Take pan off the heat and let the foam settle for a minute.
11. Line your sieve with a few layers of muslin/cheesecloth and place over the large bowl. Pour the ghee in.
You will be left with brown milk solids sitting on top of the cloth – similar to sugar granules, these can be thrown away.
12. Transfer ghee to a glass jar, it should be a nice liquid gold colour. Cover your jar loosely and leave for a few hours at room temperature until it is set and looks similar to solid butter again.
You can store at room temperature for up to three months or even longer in the fridge.
If you've made Ghee before and have some tips and tricks you would like to share, we would love to hear from you!
Email us here.